


Photoshop and Lightroom post-processing are powerful tools. However, there is a limit to its capabilities, especially when it comes to the exposure of your image.
An overexposed image will blow out your highlights and no amount of exposure adjustments will bring back the information that was lost in those highlights. That info is gone…forever.
A severely underexposed image is no better. Sure, you can bump up the exposure a bunch and chances are all of the information will be there. Unfortunately, increasing exposure that much has insanely negative effects on the image’s color. Seriously, it’s horrendous!
All that so say, a properly exposed image is ideal and will make your life so much easier once you sit down in your editing chair.
So, how do you go about getting it right in camera?
Here’s my secret:
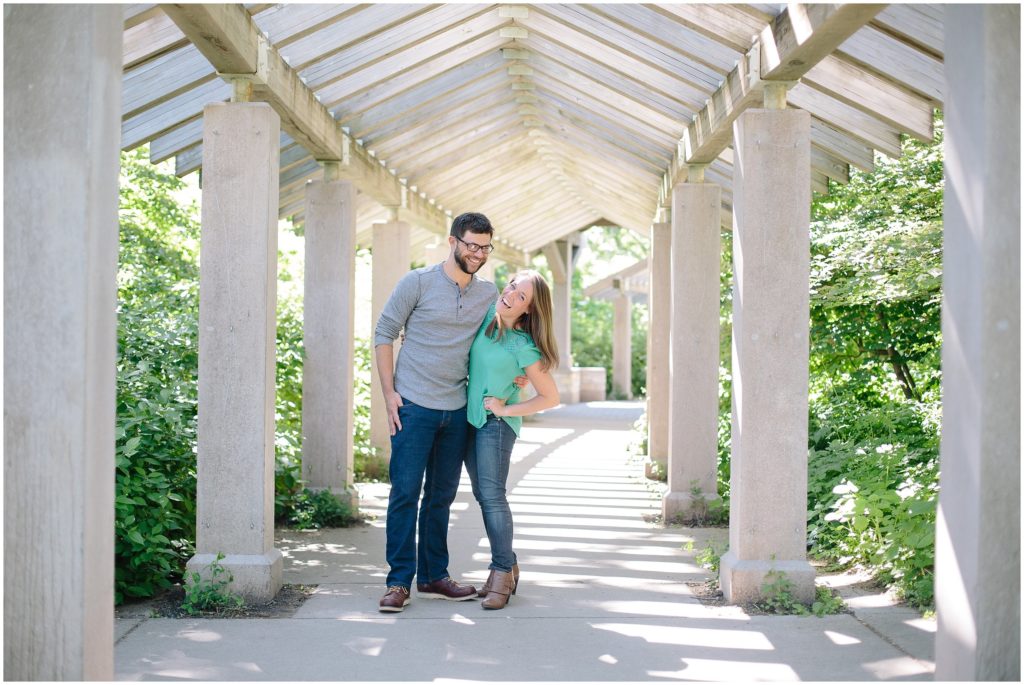
I shoot for correct skin tones
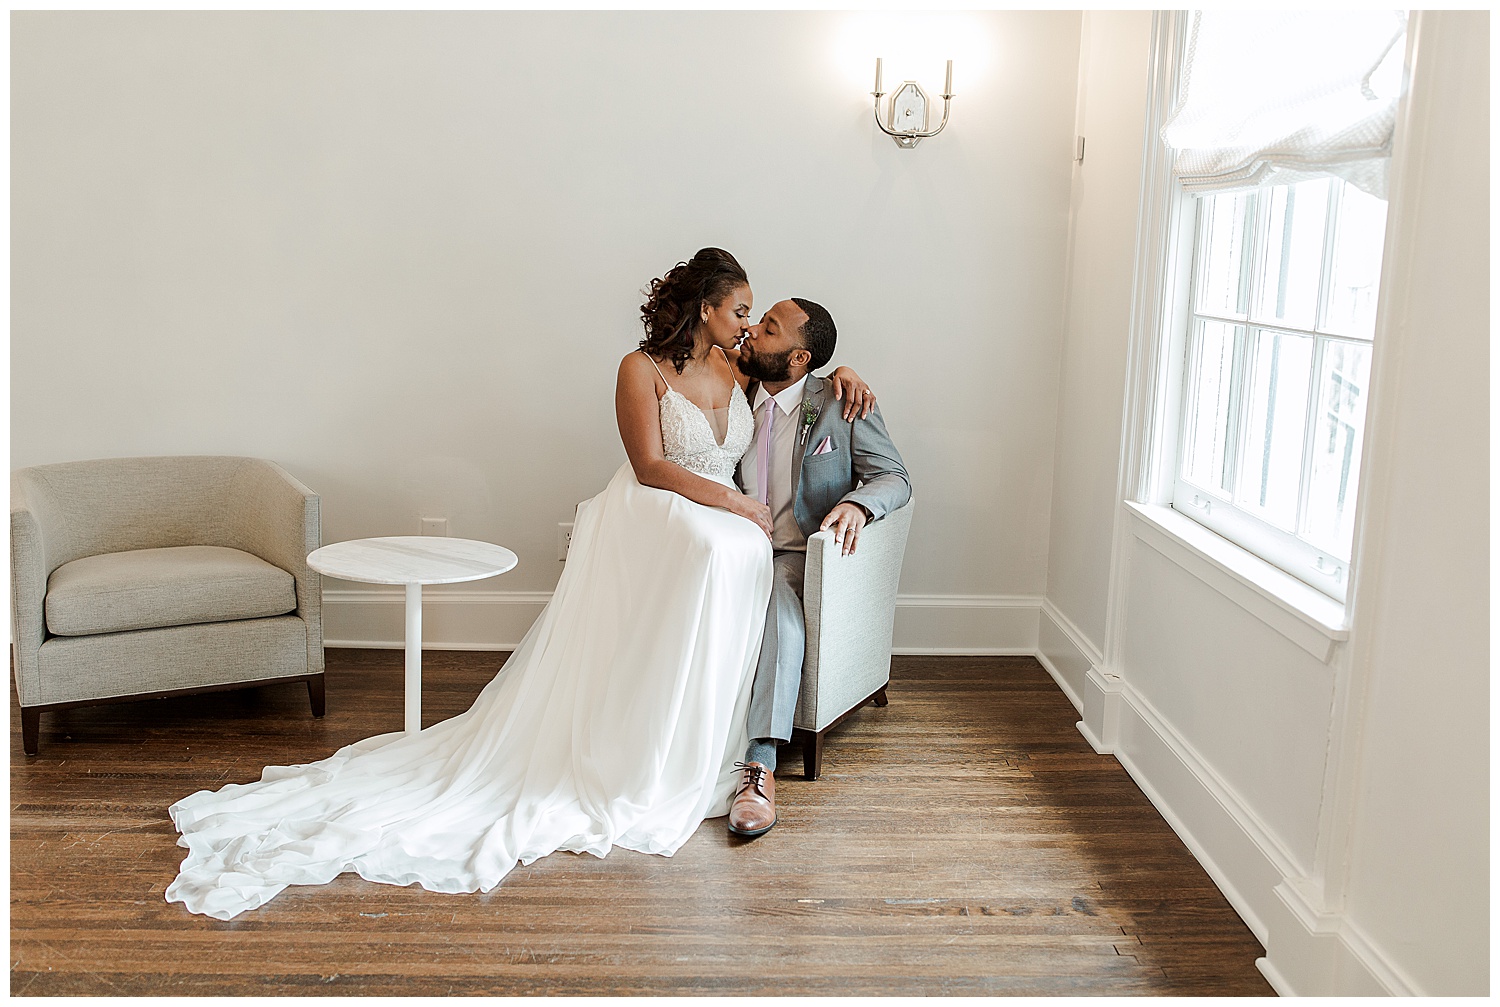
What does shooting for skin tones even mean? It means, I want to expose for my subject’s skin so that I’m able to edit and make my client’s skin look like their real, glowy skin.
How I go about getting it right in camera is actually a fairly simple process…it’s not necessarily easy, but the concept isn’t terribly complex.
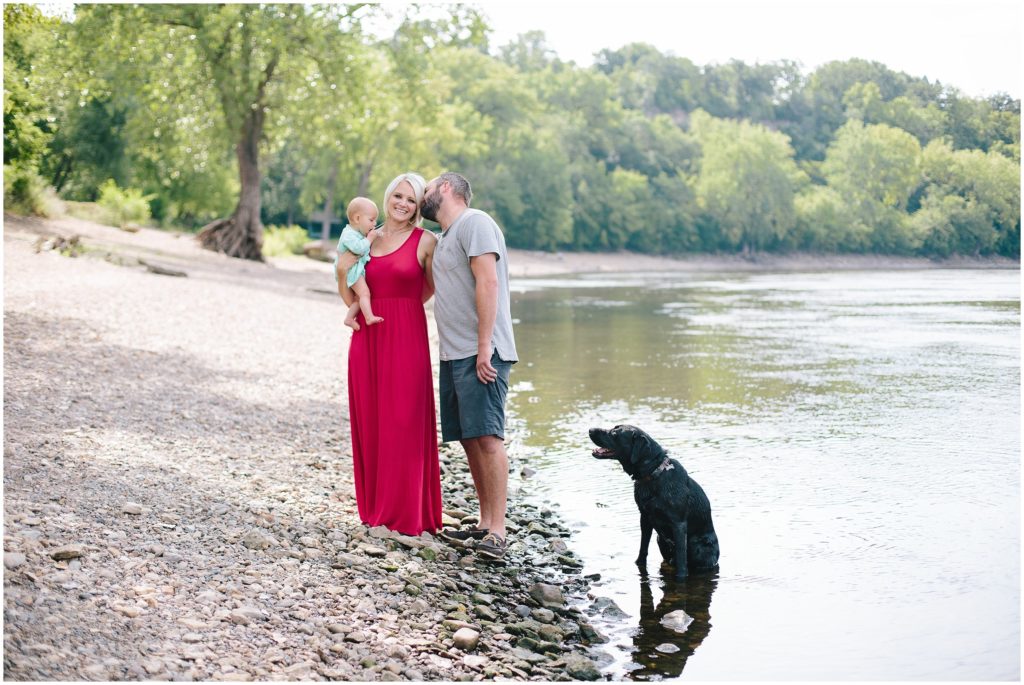
1. Find good light
First, I want to put my client in amazing light. Is light hitting their face? It should be. Light should always find your subject’s face, whether it’s directly hitting it or hitting it from a secondary light source. If your subject’s face is in the dark, move them.

2. Set your ISO, aperture, and shutter speed
Once your client is in amazing light, you’ll want to set your settings (ISO, aperture, and shutter speed) so that your camera’s light meter reads 0 or just under 0. I like to have my ISO as low as possible, my aperture as wide as possible, and my shutter speed as fast as possible.
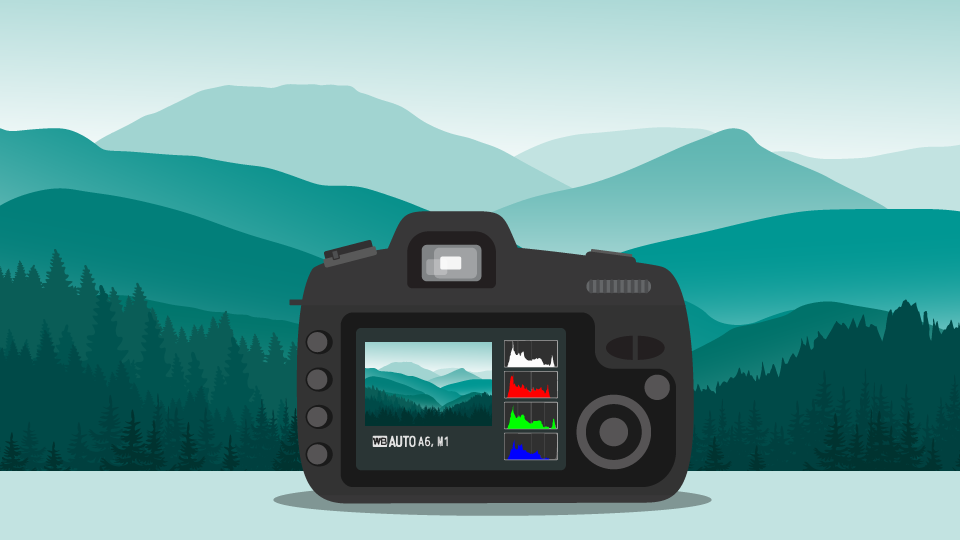
3. Read your histogram
Now that you have your settings plugged in, take a test shot and look at your histogram. Your camera has a few different histograms. The primary one is the luminosity histogram. That shows overall brightness of an image and usually has a monochromatic display. This is important but I want you to instead look at your color histograms, specifically the red one.
Why the red histogram? Because skin tones show up in the red zone. Go into Lightroom and start playing with your HSL sliders. You’ll see that your client’s skin is effected when you move the red, orange, and/or yellow sliders. Cool, right?
To have a properly exposed image for skin, you’ll need information to spread across the entire range of your red histogram.
Play with your camera settings until your red histogram tells you that you have a properly exposed image. It may look darker than what you’re used to, but trust me, this will work in your favor when you sit down to edit.
And that’s it! That’s my secret to getting it right in camera.
Want to grow your photography business?
READY TO CAPTURE TIMELESS MEMORIES TOGETHER?
inquire

a few of my top reads
popular posts
average cost of a wedding photographer
how to get your wedding published
What colors to wear for engagement pictures


